If you’re looking to update your home’s flooring but don’t want to break the bank, this blog is just for you. This article aims to guide you toward the goal of installing laminate flooring yourself in just one weekend. With the right tools and a little bit of patience, you can achieve a professional-looking result. Here’s how to do it.
However, this blog is not responsible for any damage caused and is aimed to help you in this process. Professional teams, counselling, and quotations will be greatly helpful. There will be a difference between a professional team with years of experience compared to a starter. You are always welcomed to consult with our professional flooring team in Melbourne.
Tools and materials needed for installing laminate flooring
Here are the necessary tools and material which you need to prepare before starting the laminate flooring process yourself:
- Laminate flooring
- Underlayment
- Measuring tape
- Chalk line
- Spacers
- Saw
- Hammer
- Pull bar
- Tapping block
- Knee pads
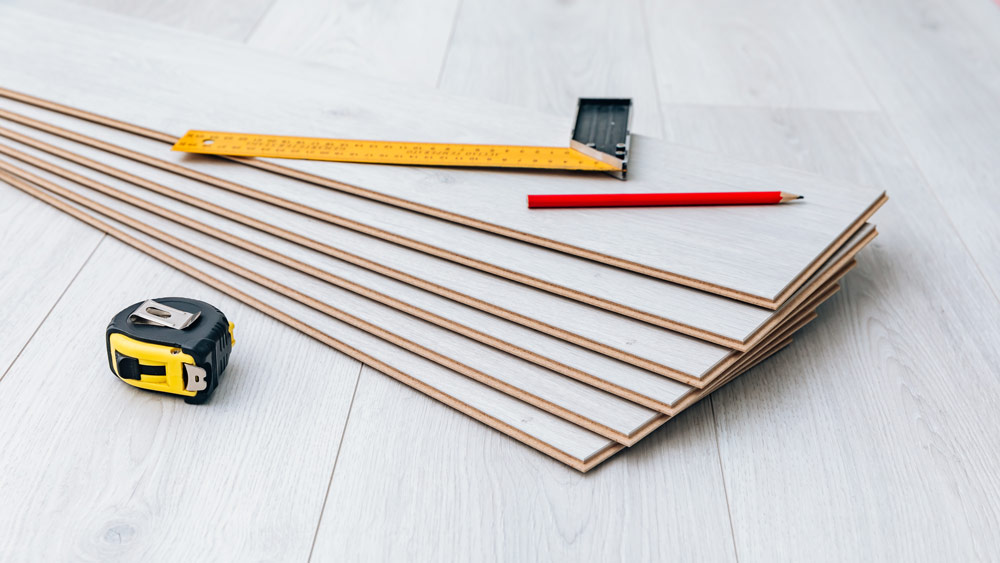
Laminate installing equipment on planks
Step-by-step guide for doing laminate flooring installation in a weekend
Below is a descriptive yet simple guide to what the simplified guide looks like. This is what will get you your dream results, and may turn a boring flooring into something brilliant. The power of flooring is amazing. It can turn home prices greatly, looks amazing, and overall is a great piece of any home. It’s something you use everyday no matter what.
1. Measure the room and flooring
Before beginning any DIY project, it’s essential to measure the space that you’ll be working with. Measure the length and width of the room and multiply the two numbers to determine the square footage you’ll need to cover. Add 10% extra to account for waste.
2. Acclimate the flooring
It’s essential to acclimate the laminate flooring to the temperature and humidity of the space that it will be installed in. Leave the boxes of laminate flooring in the room for at least 48 hours before installing them.
3. Prepare the subfloor
Before you can install the laminate flooring, you must ensure that the subfloor is clean, level, and dry. If there are any uneven spots, use the self-levelling compound to even them out.
4. Lay the underlayment
Roll out the underlayment across the entire floor, trimming it to size as needed. Use tape to secure the seams. The underlayment helps reduce noise and provides a layer of cushioning.
5. Lay the first row
Start in the corner of the room and lay the first row of planks, making sure to leave a ¼ inch gap between the planks and the wall. A chalk line can be used to snap a straight line across the room to use as a guide when laying the first row.
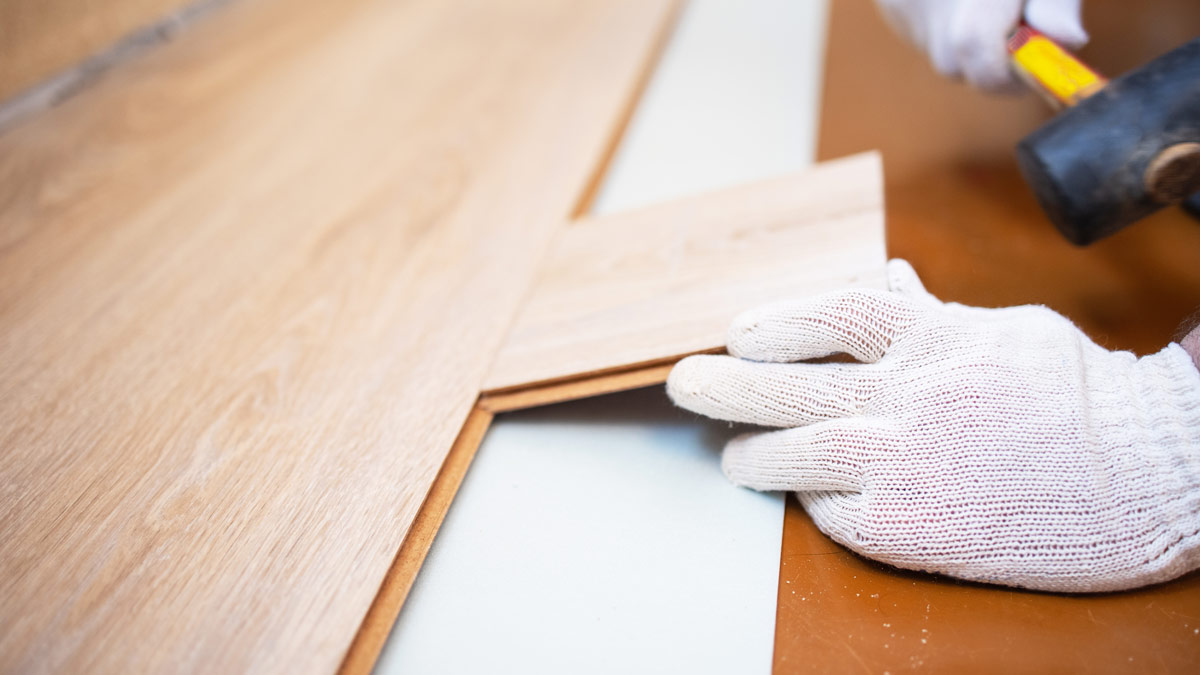
6. Install the rest of the flooring
Continue laying the planks row by row, using spacers to maintain the ¼-inch gap. Use a saw to cut the planks to size as needed. A pull bar and tapping block can be used to lock the planks together.
7. Install the trim
Once the laminate flooring is installed, install the trim along the walls to cover the gaps and give the room a finished look. Not only will it enhance the looks, but it is a great piece to just add. Most mistakes happen near the walls, and a trim will make those unviewable.
Tips and tricks for laminate installation
Here are some necessary tip and tricks which help you get a better result of laminate flooring installation:
- Use knee pads to protect your knees when working on the floor.
- Use a pull bar and tapping block to lock the planks together.
- Consider renting a laminate cutter to make the job easier.
- When cutting the planks, cut with the decorative side down to prevent splintering.
In conclusion, installing laminate flooring yourself can be a cost-effective way to update your home’s flooring. With the right tools and a little bit of patience, you can get a great result in just one weekend.