It’s no doubt flooring is one of the most important sections of your home as it’s one you’ll see every day. So choosing the right flooring option and then start doing the floor leveling is the first steps that must be taken. Our professional Melbourne team at MA Flooring will guide you in choosing your dream floor.
Floor levelling step-by-step
Below we’ll discuss how to level the subfloor, and discuss details, information and more. If you have any concerns, or thoughts feel free to leave a message or read our blogs to understand more.
1. Removing the old floor
To begin, let’s elaborate about the subfloor. It’s one of the most important parts of flooring in general. Not only does it provide support for your flooring, but helps to level out any bumps on the surface. If the subfloor is uneven, it can cause problems with flooring, such as damages (cracks, bumps), and if bad, possibly getting worned out, wood problems, and more.
The most common method to balance the floor is to clear the previous flooring and expose the subfloor. It can be a messy and dangerous job, so it’s important to be safe when you’re working with floors. More importantly, old floors may contain asbestos, so it is important to consult a professional to help safely remove and dispose of this material.
2. Levelling the subfloor
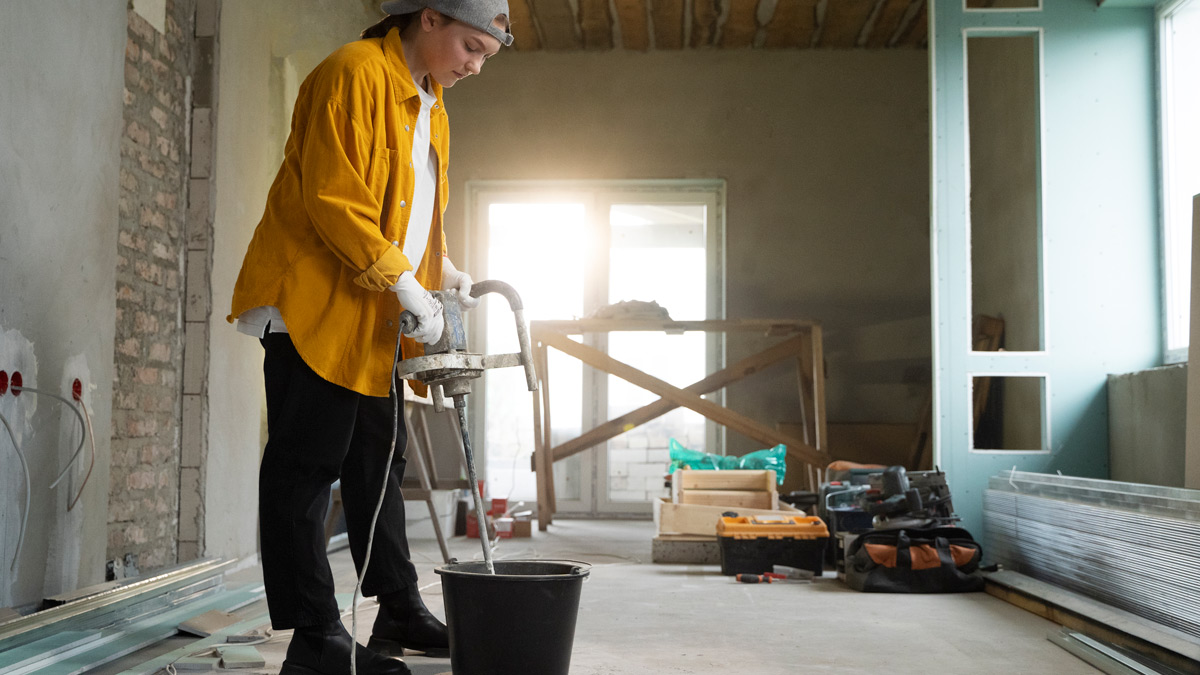
Once the subfloor is exposed, you may begin to level it out. This can be done with a variety of different tools, but the most common method out of them is to use a self-levelling compound.
3. Cleaning and repairing uneven spots on the wooden subfloor
The first step is to secure & screw down any loose boards or plywood sheets. If necessary, the installer will add additional wood screws to secure them in place. On top of that, they will replace any nails with screws. This is due to popped nails that are likely to get loose again. Next, is the sander stage. Where, sanders are used to sand down any high spots in the flooring. Keep checking the floor with a level as you sand, until all the high spots are gone. When finished, vacuum thoroughly with a wet or dry vacuum.
4. Cleaning and repairing uneven spots on the concrete subfloor
When dealing with concrete subfloors, our team of experts utilizes a concrete grinder for sizable, spacious areas. Alternatively, they may use a 4-inch or 8-inch angle grinder equipped with a cup-wheel attachment designed for concrete use. During the process, they consistently inspect the floor with a level to ensure precision. Once the grinding is complete, they meticulously vacuum the floor with a wet/dry vacuum and perform a final quality check.
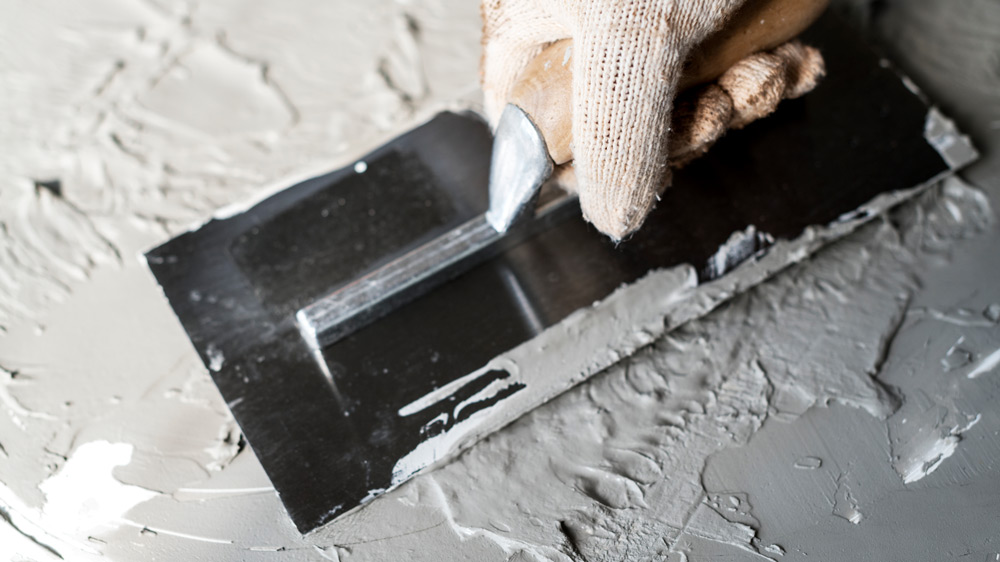
Subfloor leveling using concrete
5. Low spots on wooden and concrete subfloors
There are a variety of products & tools available to help with low spots in general:
- Floor underlayments: they are thin layers of material that provide insulation, sound absorption, and wear reduction for floors. Additionally, they can act as a vapor barrier.
- Floor levellers: Floor levellers are cement-based substances depending on the person that may be pre-mixed or dry and used with water. Once added, the leveller will settle directly into the low spots and then harden as it dries. This allows the person to make a levelled floor.
- Floor patches: they’re useful in many topics including repairing holes, cracks, dips, and other imperfections.
Floor levelling compound may be used for subfloors made out of wood. The compound is similar to a putty-like product that is spread over low spots and becomes smoothed out. Along with that, it comes with the ability to be sanded, painted over on, and even stained once dried.
At the end, do not hesitate to contact our flooring experts in Melbourne and ask any question before making decision about flooring. They will consult you to choose the right option based on your situation among flooring choices such as laminate flooring, vinyl flooring, and carpet installation.