Uneven floors can be an eyesore and a safety hazard. Fortunately, there’s a simple solution: shims. In this guide, we’ll take a closer look at how to level a floor with shims, especially for joist subfloors. Follow these steps to make your floors level and safe once again.
However, before we start let’s quickly talk about uneven floors. Imagine you’re walking down the stairs, the stairs are perfect, but the second you walk on the floor you hear squeaks, and cracks, and the floor itself is uneven. The thought you would get in your head varies from, broken, to horrible flooring.
These are the types of thoughts that people will have when they enter your home if you have this type of flooring, however, if you have straight flooring, nobody will have any thoughts.
NB: MA Flooring team recommends to use professional flooring services to prevent any possible risk.
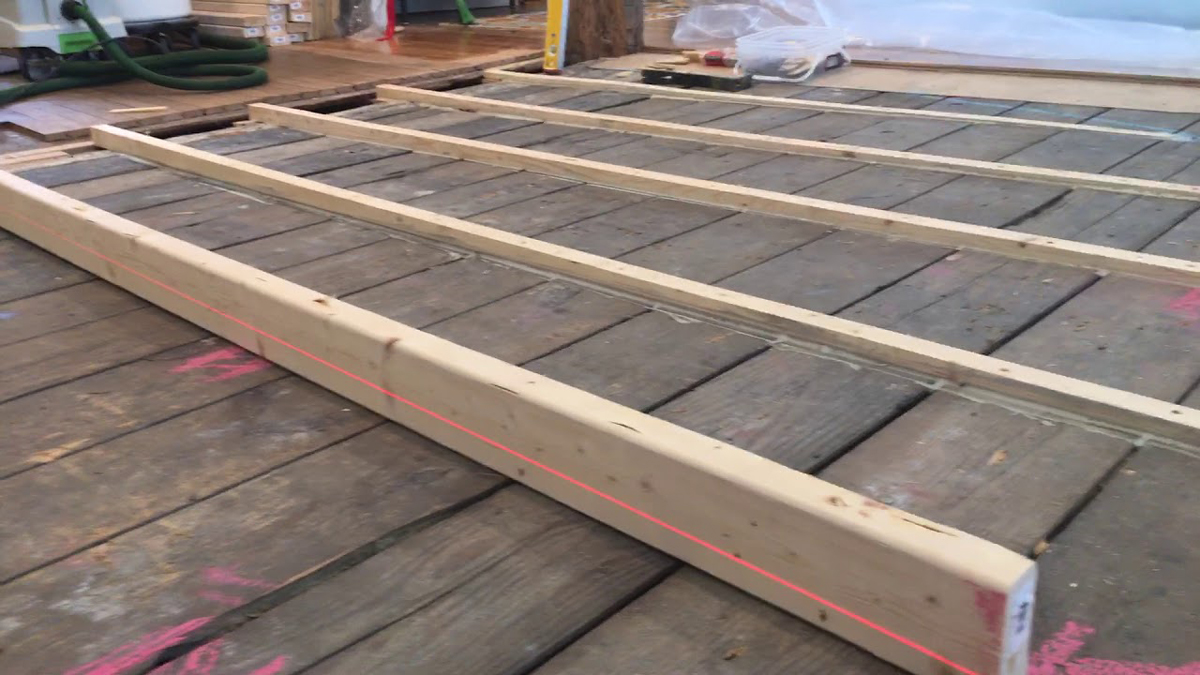
Step 1: Locate the joists
Before you start levelling the floor, you need to locate the joists. The easiest way to find them is to look for the nails or screws that attach the subfloor to the joists. You can also use a stud finder or tap the floor with a hammer to listen for the hollow and solid areas.
Step 2: Gather your materials for floor levelling with shims
Once you’ve located the joists, it’s time to gather your materials. You’ll need shims, construction adhesive or screws, and a saw to trim the shims. Cedar shims or plastic shims are both good options.
Step 3: Insert the shims
Now that you have your materials, it’s time to insert the shims. Start by placing them underneath the low spots of the subfloor. Use a level to ensure that the shims are level with the rest of the floor. When doing this step make sure to focus, as incorrect placement may harm your flooring overall, and is best if done properly.
Step 4: Secure the shims
After you’ve inserted the shims, it’s time to secure them in place. You can use construction adhesive or screws for this step. If you choose to use screws, make sure to countersink them so they don’t stick out and create a tripping hazard.
Step 5: Trim the shims to level them with subfloor
Finally, you need to trim the shims to make them flush with the subfloor. You can use a handsaw, jigsaw, or oscillating multi-tool for this purpose. Be sure to wear eye and ear protection while cutting the shims.
Tips for leveling a floor with shims
Here are some practical tips for floor levelling using shims:
- Use a level to ensure that the shims are level with the rest of the floor.
- Don’t over-tighten the screws, as this can cause the subfloor to buckle.
- Use a saw with fine teeth to make clean cuts in the shims.
- Test the floor by walking on it before replacing the flooring.
In conclusion, levelling a floor with shims is a simple and cost-effective solution that anyone can do. By following the steps outlined in this guide, you can make your uneven floor level and safe. Not only will this improve the appearance of your home, but it will also make it safer for you and your family. As always, you are welcomed to contact our flooring experts in Melbourne and use our free flooring consultation.